Phone
(773) 257-3147

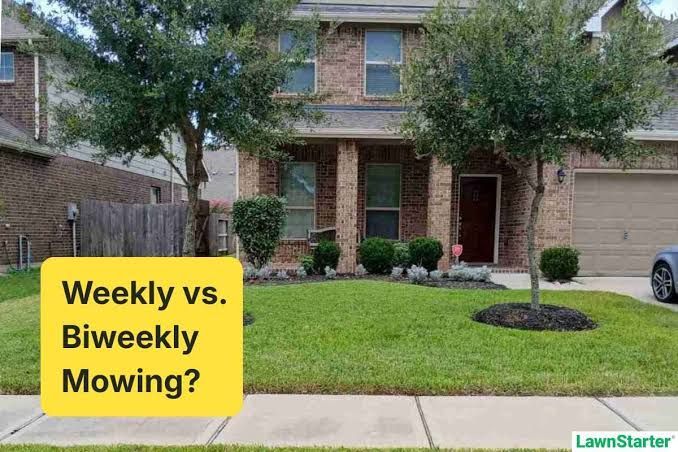
Keeping your lawn healthy, green, and well-manicured isn’t just about mowing—it’s about consistency. One of the most common questions homeowners ask is:
Should I choose weekly or bi-weekly lawn maintenance?
The answer depends on your lawn type, growth rate, and how you want your property to look. Let’s break it down so you can make the best decision for your yard.
🌱 What is Weekly Lawn Maintenance?
Weekly lawn maintenance means your grass is cut every 7 days, along with trimming and edging.
✅ Benefits of Weekly Service:
⚠️ Best For:
🌿 What is Bi-Weekly Lawn Maintenance?
Bi-weekly maintenance means mowing every 10–14 days.
✅ Benefits of Bi-Weekly Service:
⚠️ Downsides:
⚖️ Key Differences at a Glance
Weekly lawn maintenance means your grass is cut every 7 days, along with trimming and edging.
| FACTOR | WEEKLY | BI-WEEKLY | |
|---|---|---|---|
| 🌱 | Lawn Appearance | Always clean & sharp | Looks uneven |
| 🌿 | Grass Health | Strong & healthy | Higher stress on grass |
| 🌱 | Weed Control | Better prevention | More weeds likely |
| 🌿 | Cost | Higher upfront | Lower upfront |
| 🌱 | Long-Term Results | Best | Moderate |
💡 Expert Insight: What Most Homeowners Don’t Realize
Many homeowners choose bi-weekly service to save money—but end up spending more long-term.
Why?
👉
Consistency is cheaper than correction.
⭐ Best Recommendation
For most homeowners, weekly lawn maintenance is the best choice—especially during peak growing seasons.
It ensures:
Bi-weekly service can work
only during slower growth periods, like early spring or late fall.
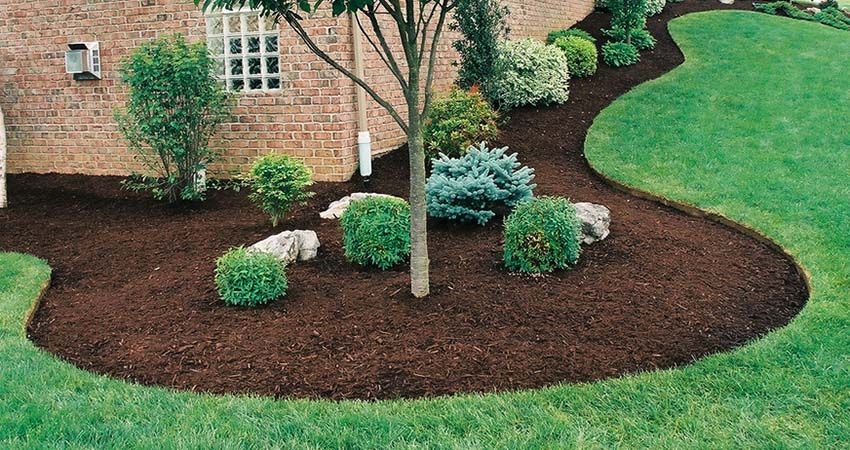
🌿 Why Choose 606 Land & Snow?
At
606 Land & Snow, we don’t just cut grass—we maintain your lawn like it’s our own.
What You Get:
We understand Chicago lawns, weather patterns, and seasonal changes—so we recommend what actually works, not just what’s convenient.
Choosing between weekly and bi-weekly lawn maintenance comes down to one thing:
Do you want to maintain your lawn—or fix it later?
Weekly service keeps your lawn consistently healthy and beautiful, while bi-weekly service can lead to uneven growth and more work in the long run.
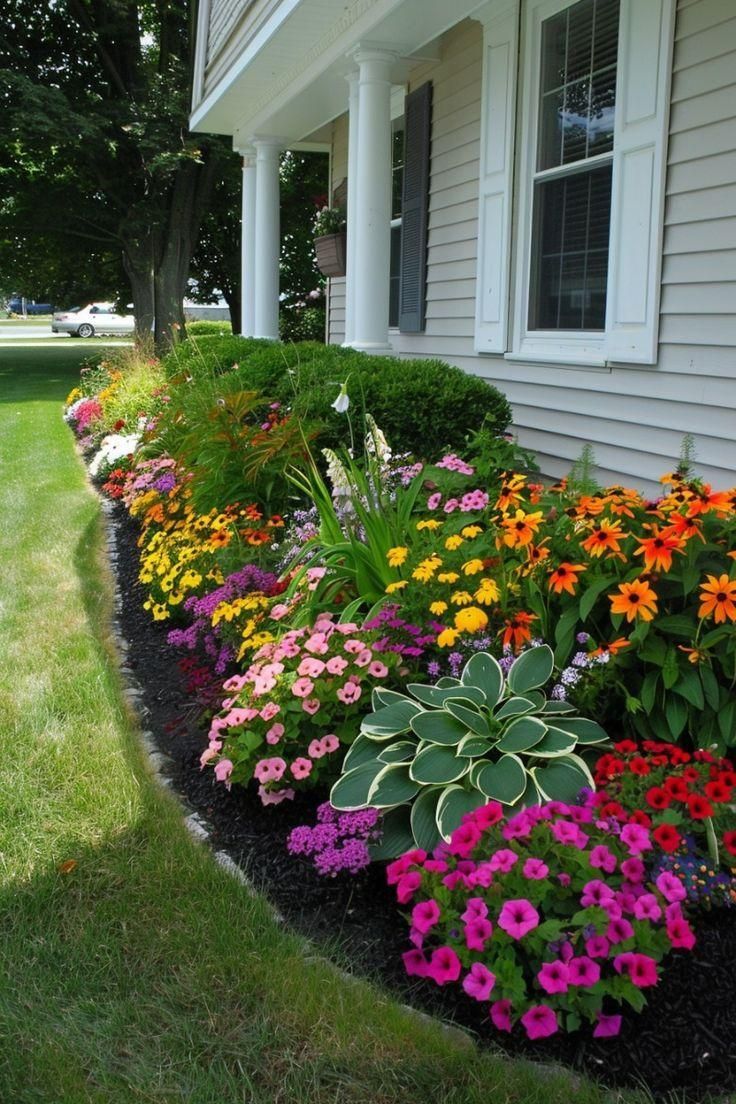
If you want a lawn that stands out in your neighborhood, weekly maintenance is the clear winner—and with the right team, it’s completely hassle-free.
Let 606 Land & Snow handle the work—so you can enjoy the results.
At
606 Land & Snow, we specialize in lawn care, landscaping, trimming, garden enhancements, and snow clearing services tailored to your property. Whether you want a simple flower bed refresh, a full landscape upgrade, or reliable snow removal during. the winter season, our team is here to help.
Get your estimate today at 606 Land & Snow
📍 Serving: Chicago & surrounding suburbs • 📞 (773) 257-3147 (773) 917-1102
✉️ info@606landsnow.com
• 🌐 606landsnow.com
Previous blog topics below >>
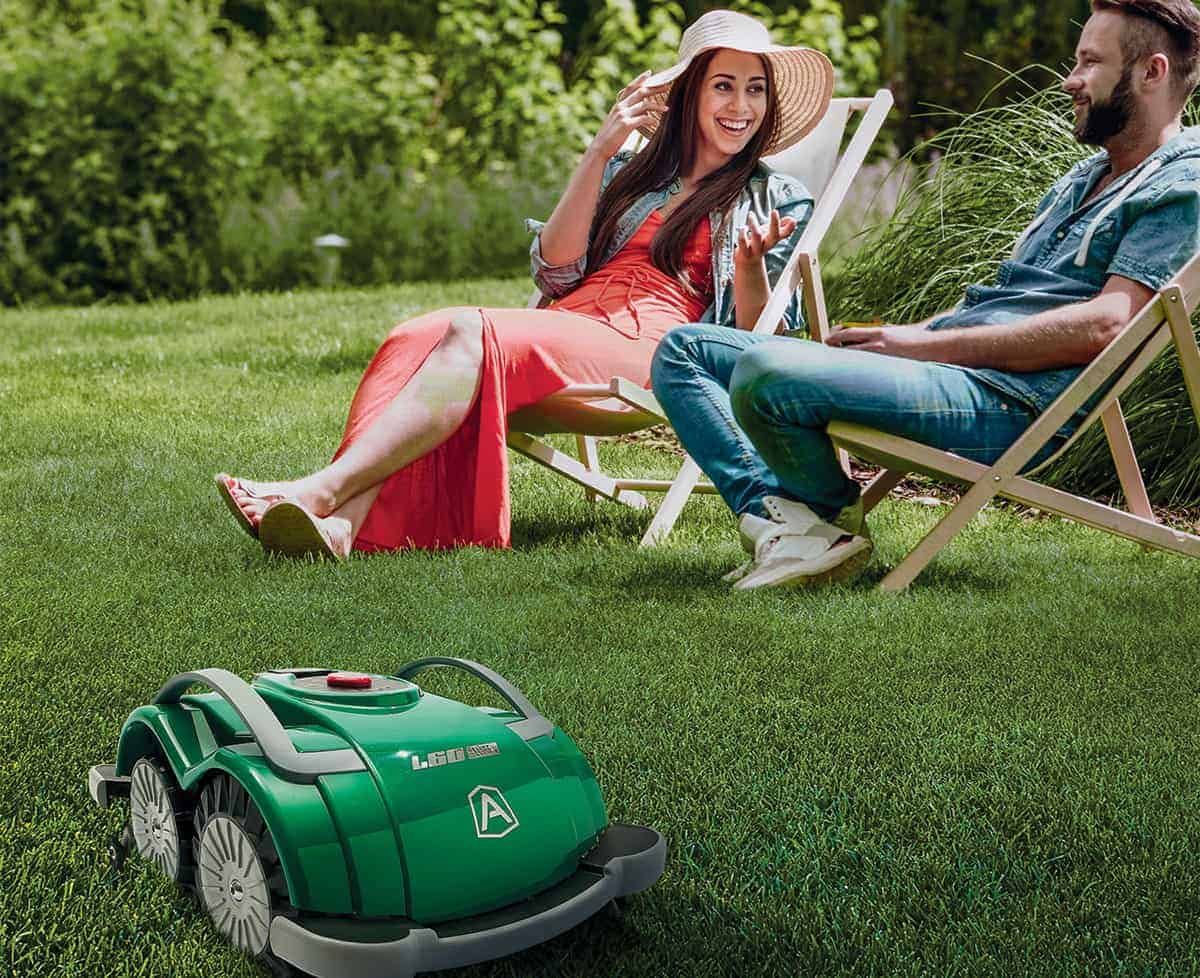
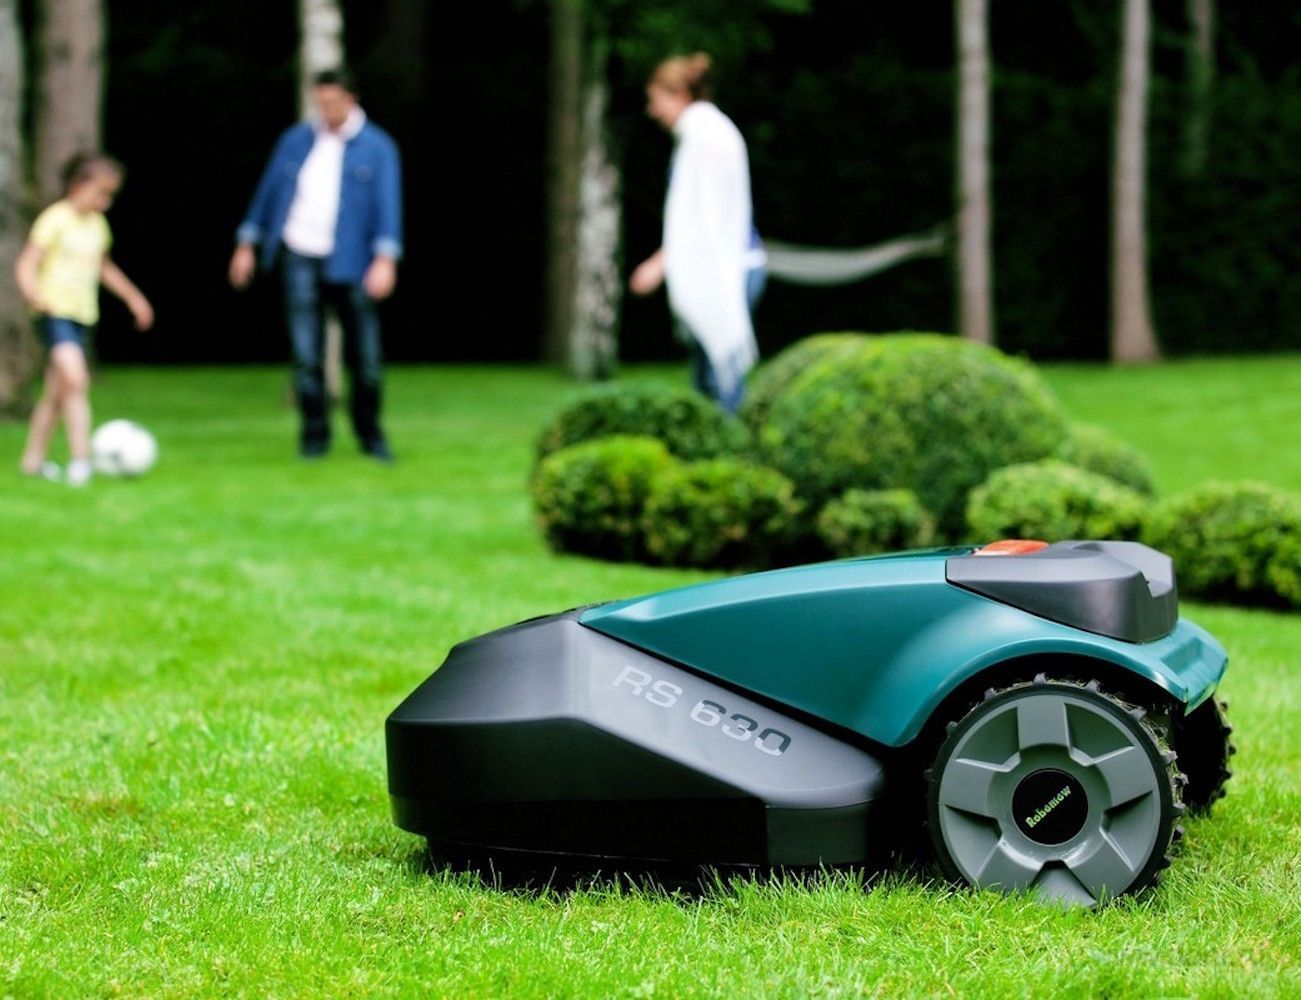
Imagine a perfectly manicured lawn without the hassle of pushing a heavy mower under the hot sun. Robot mowers are revolutionizing lawn care, offering convenience and efficiency with just the touch of a button.
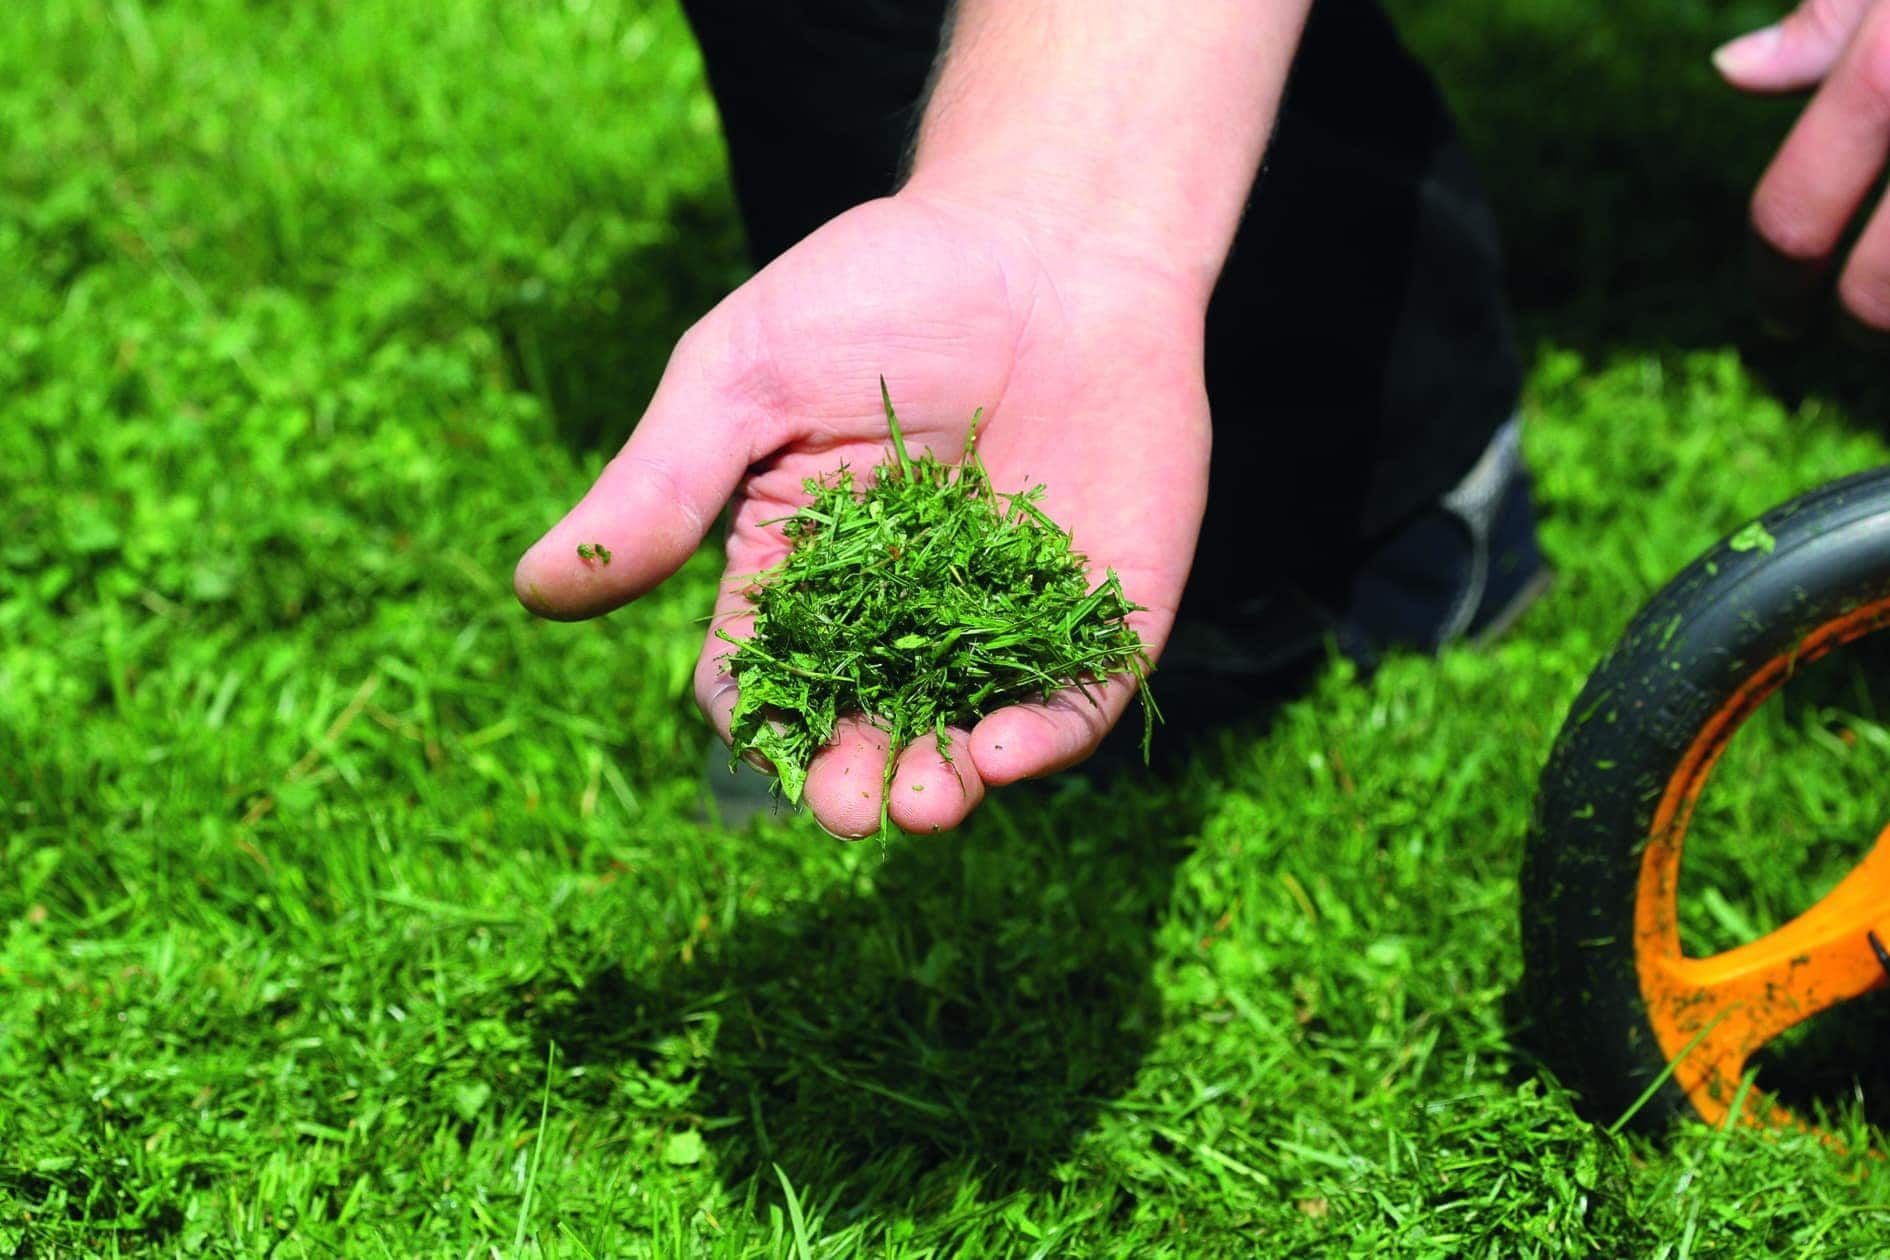
Robot Mowers are made to mulch the grass into ultra-fine clippings that don’t result in build up and the need for dethatching. That said, we are including below a break-down for mulching vs not-mulching your lawn. What’s the best approach? Let’s explore the pros and cons of mulching vs. bagging when using robot mowers.
Mulching: The Natural Fertilizer
1. Eco-Friendly: Mulching returns nutrients to your lawn, promoting healthier, greener grass without the need for chemical fertilizers.
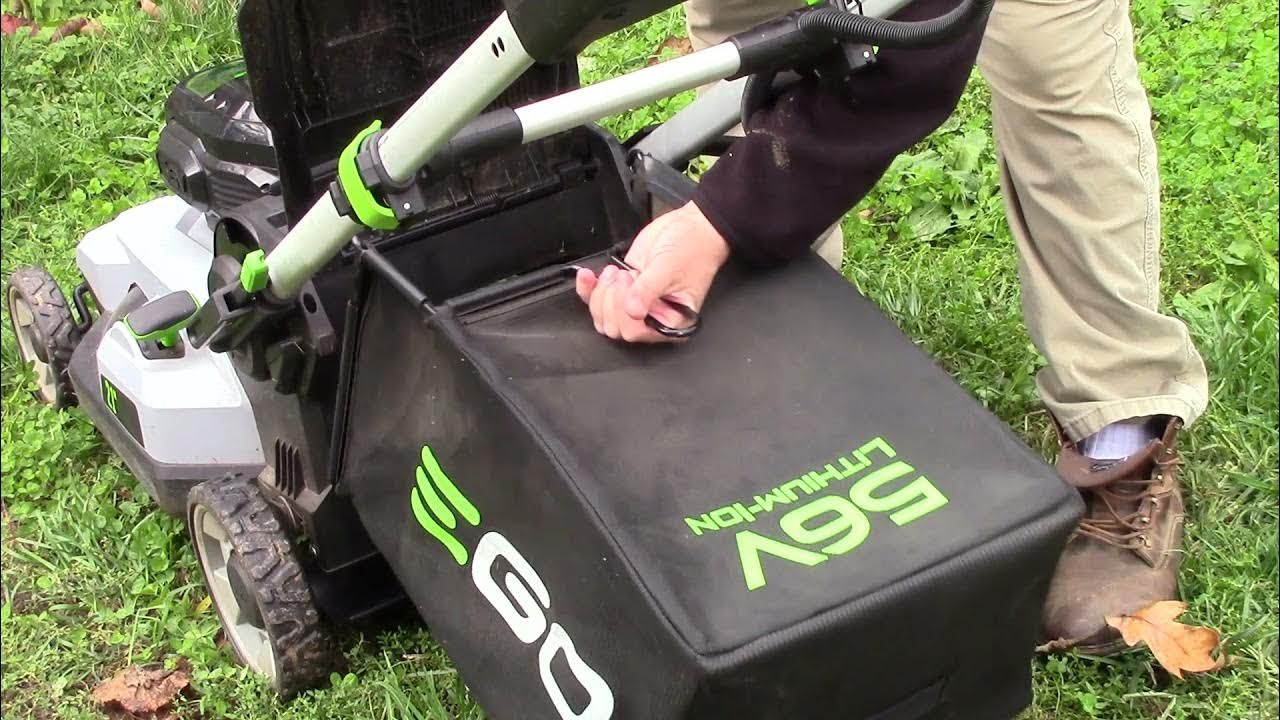
2. Time-Saving: No need to empty grass bags—your robot mower continuously mulches as it works.
3. Moisture Retention: Mulched grass helps retain soil moisture, reducing the need for frequent watering.
1. Thatch Buildup: Over-mulching can lead to thatch buildup, which may require periodic dethatching.
2. Uneven Spread: If not done correctly, mulching can leave clumps of grass, affecting the lawn’s appearance.
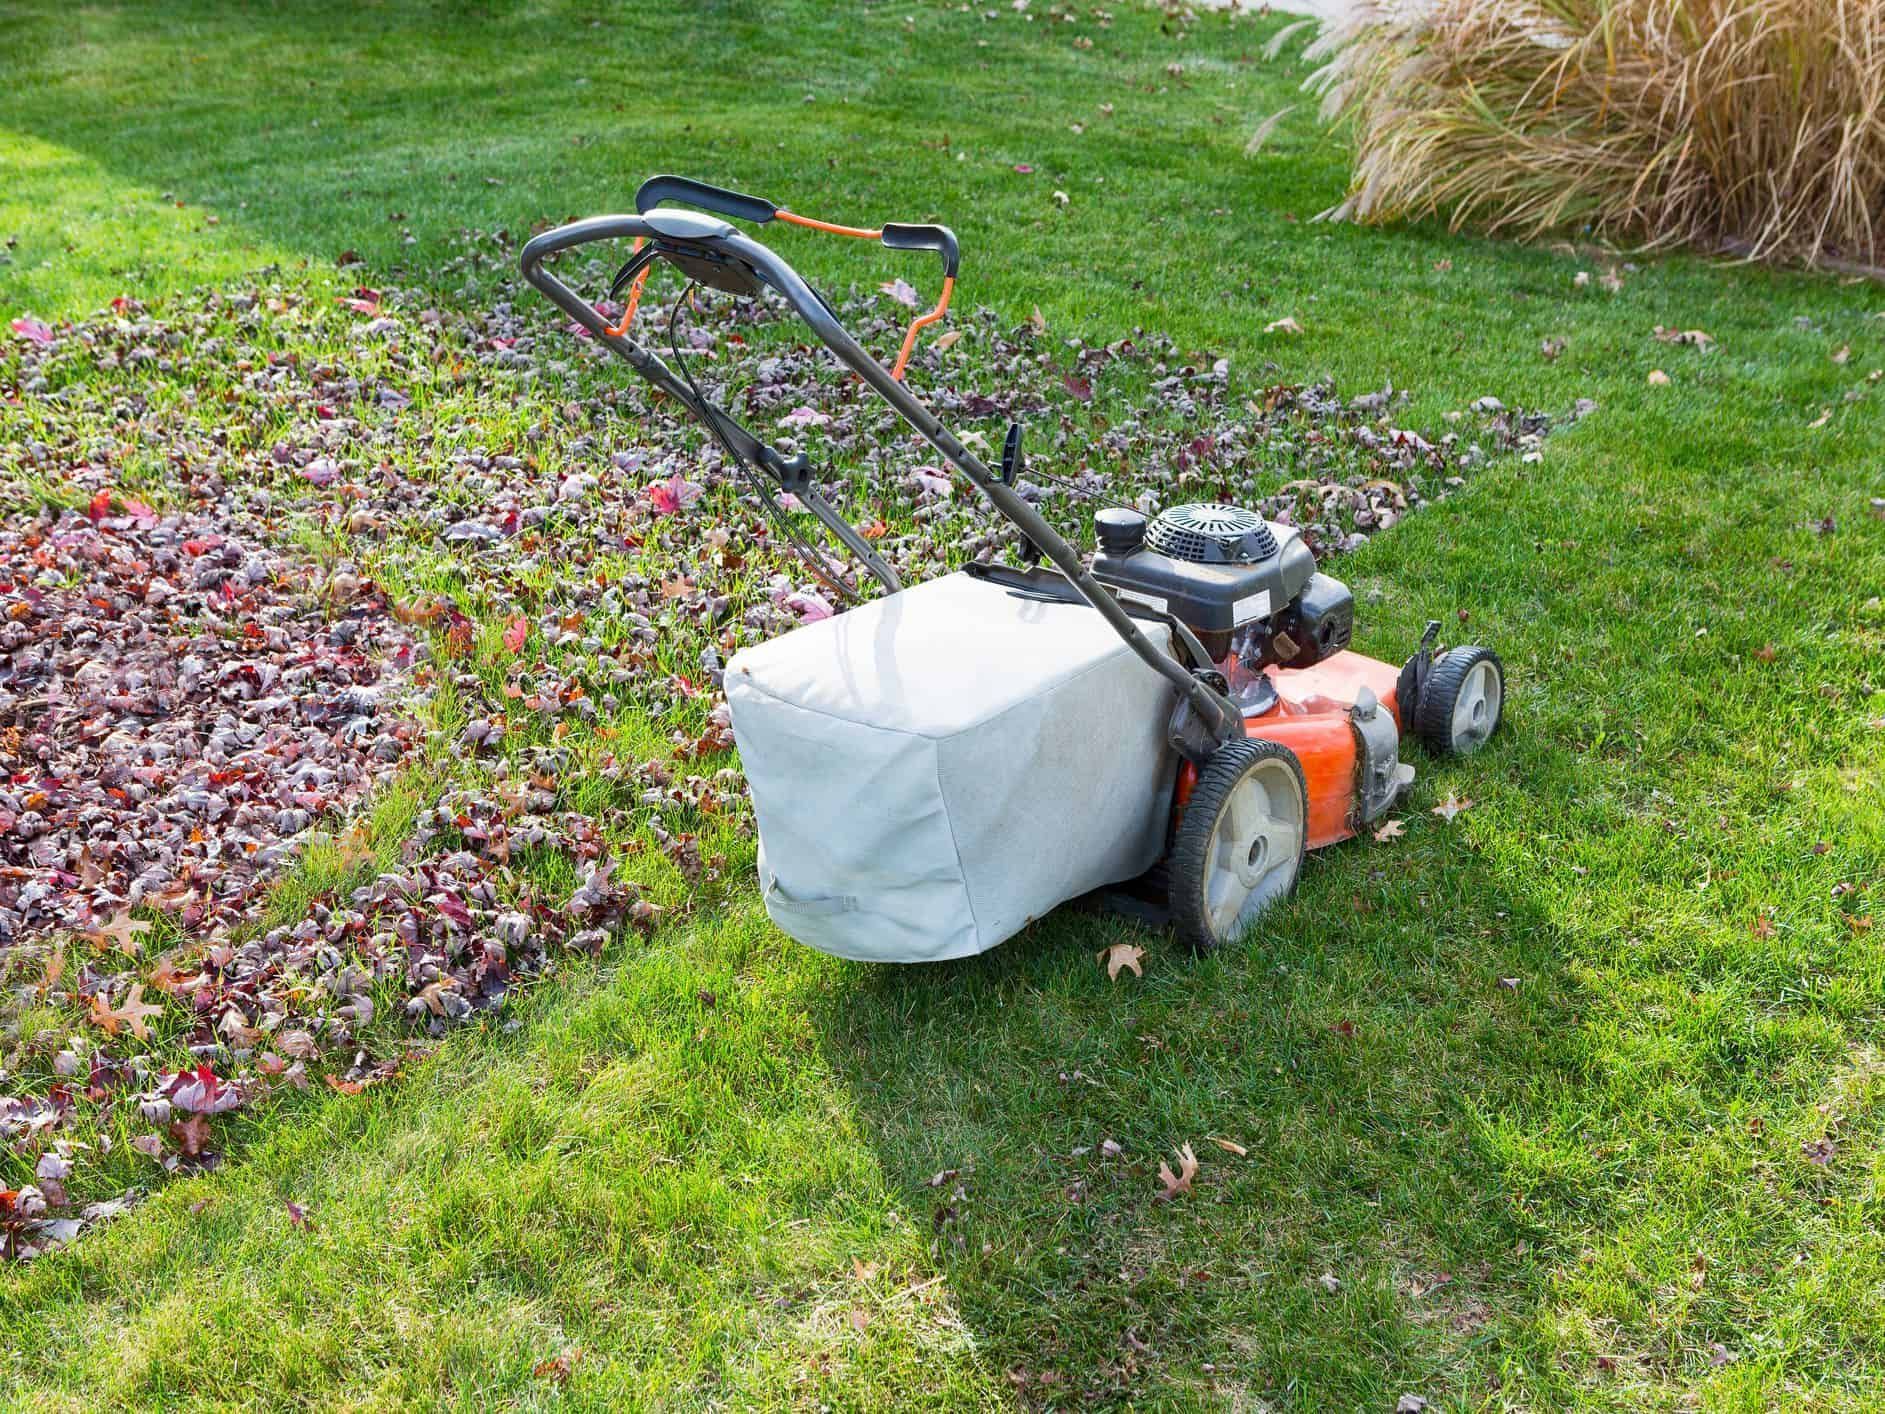
1. Neat Appearance: Bagging leaves your lawn looking pristine with no leftover clippings.
2. Weed Control: Removing clippings can help reduce the spread of weeds and diseases.
3. Ideal for Allergies: Bagging can minimize exposure to grass pollen and allergens.
1. More Work: You’ll need to empty the grass bag frequently, adding to your workload.
2. Nutrient Loss: Bagging removes potential natural fertilizers, necessitating additional lawn treatments.
Conclusion
Choosing between mulching and bagging depends on your lawn care priorities. If you prefer a low-maintenance, eco-friendly approach, mulching is your best bet. For a clean, meticulous look, bagging might be the way to go. Either way, robot mowers make the process easier and more efficient, giving you more time to enjoy your beautiful lawn.
Ready to upgrade your lawn care routine? Discover the latest in robot mowers today!


606 Property Services (formerly 606 Land & Snow) provides reliable property services for homeowners across Chicago and the surrounding suburbs.

Phone
(773) 257-3147

info@606landsnow.com

Service Area
Chicago & Surrounding Areas

Business Hours
Mon-Sunday: 24/7