Phone
(773) 257-3147

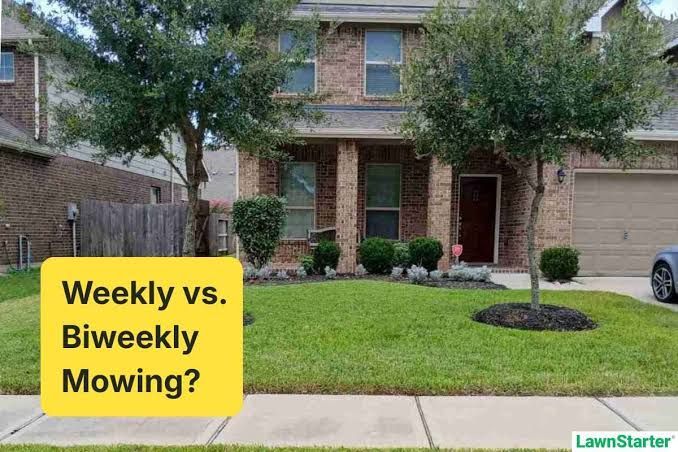
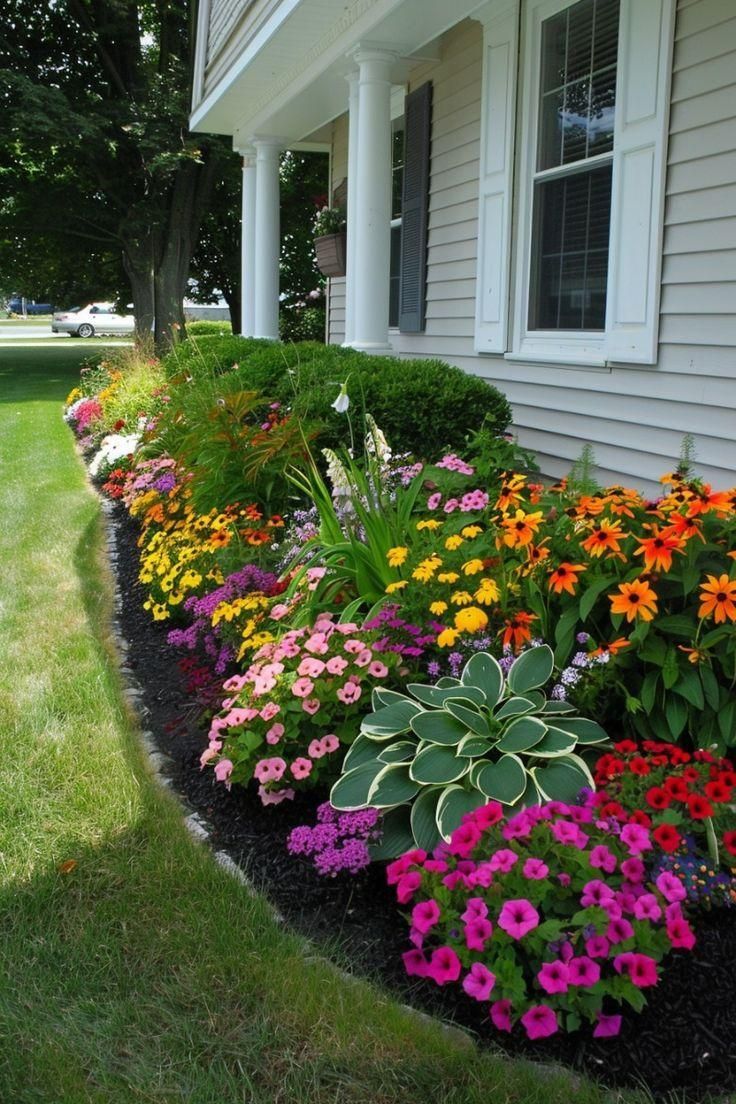
Keeping your lawn healthy, green, and well-manicured isn’t just about mowing—it’s about consistency. One of the most common questions homeowners ask is:
Should I choose weekly or bi-weekly lawn maintenance?
The answer depends on your lawn type, growth rate, and how you want your property to look. Let’s break it down so you can make the best decision for your yard.
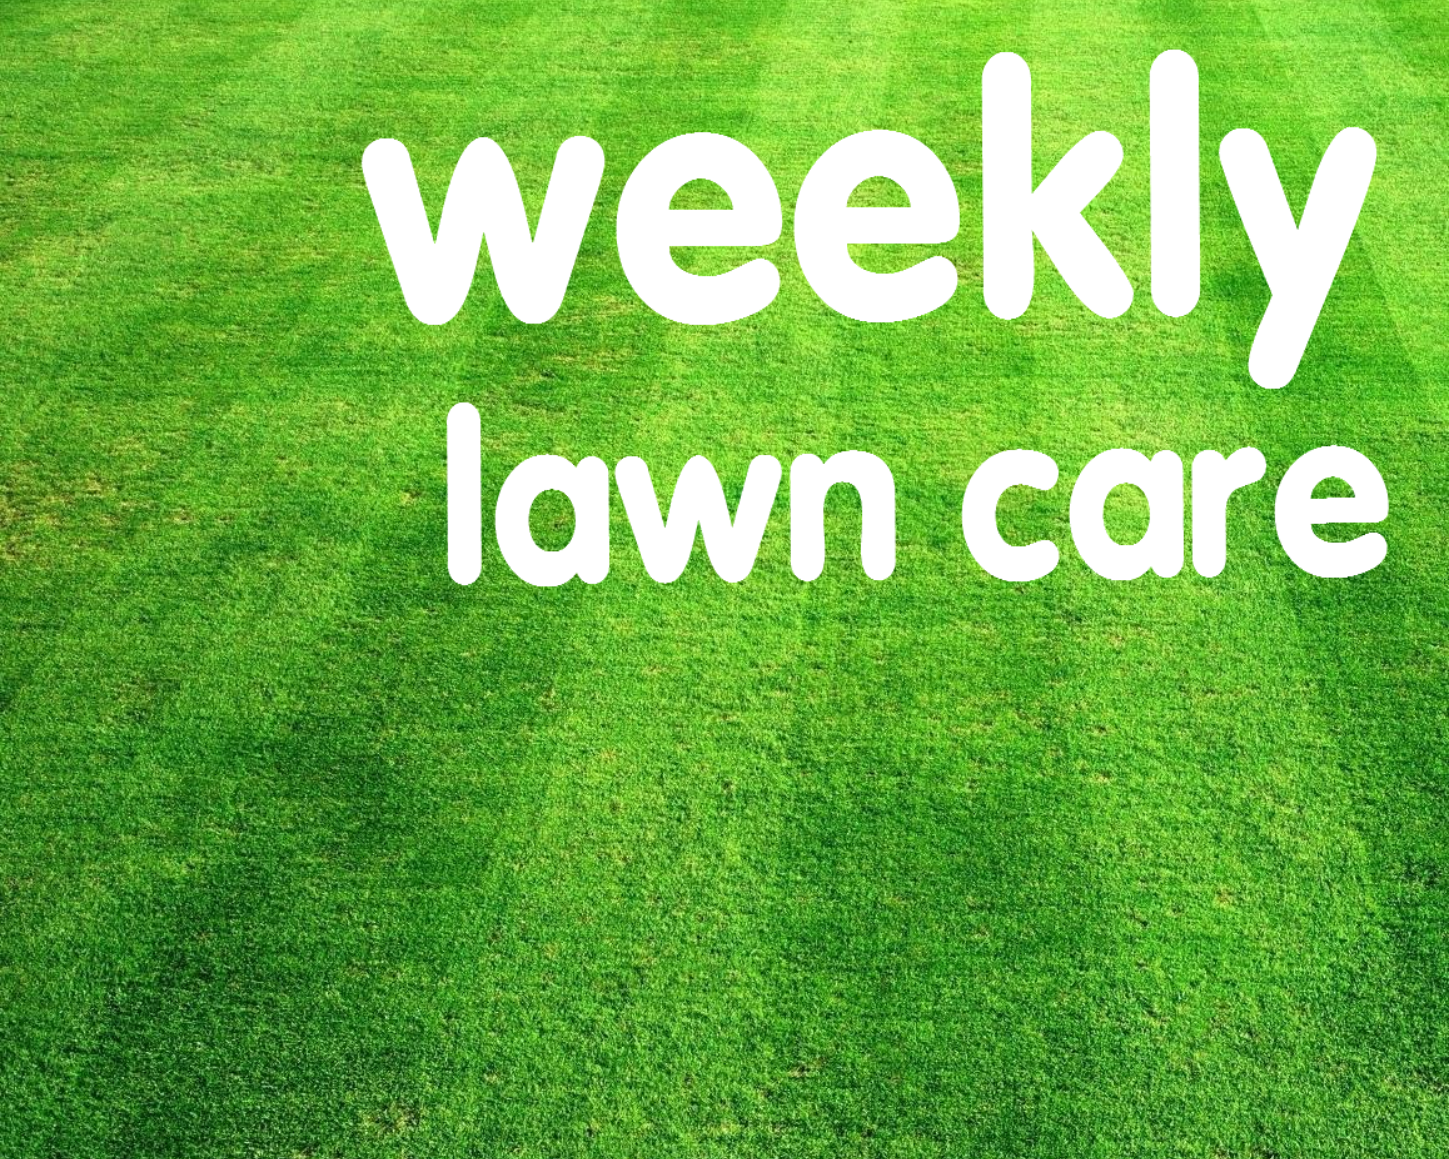
🌱 What is Weekly Lawn Maintenance?
Weekly lawn maintenance means your grass is cut every 7 days, along with trimming and edging.
✅ Benefits of Weekly Service:
⚠️ Best For:
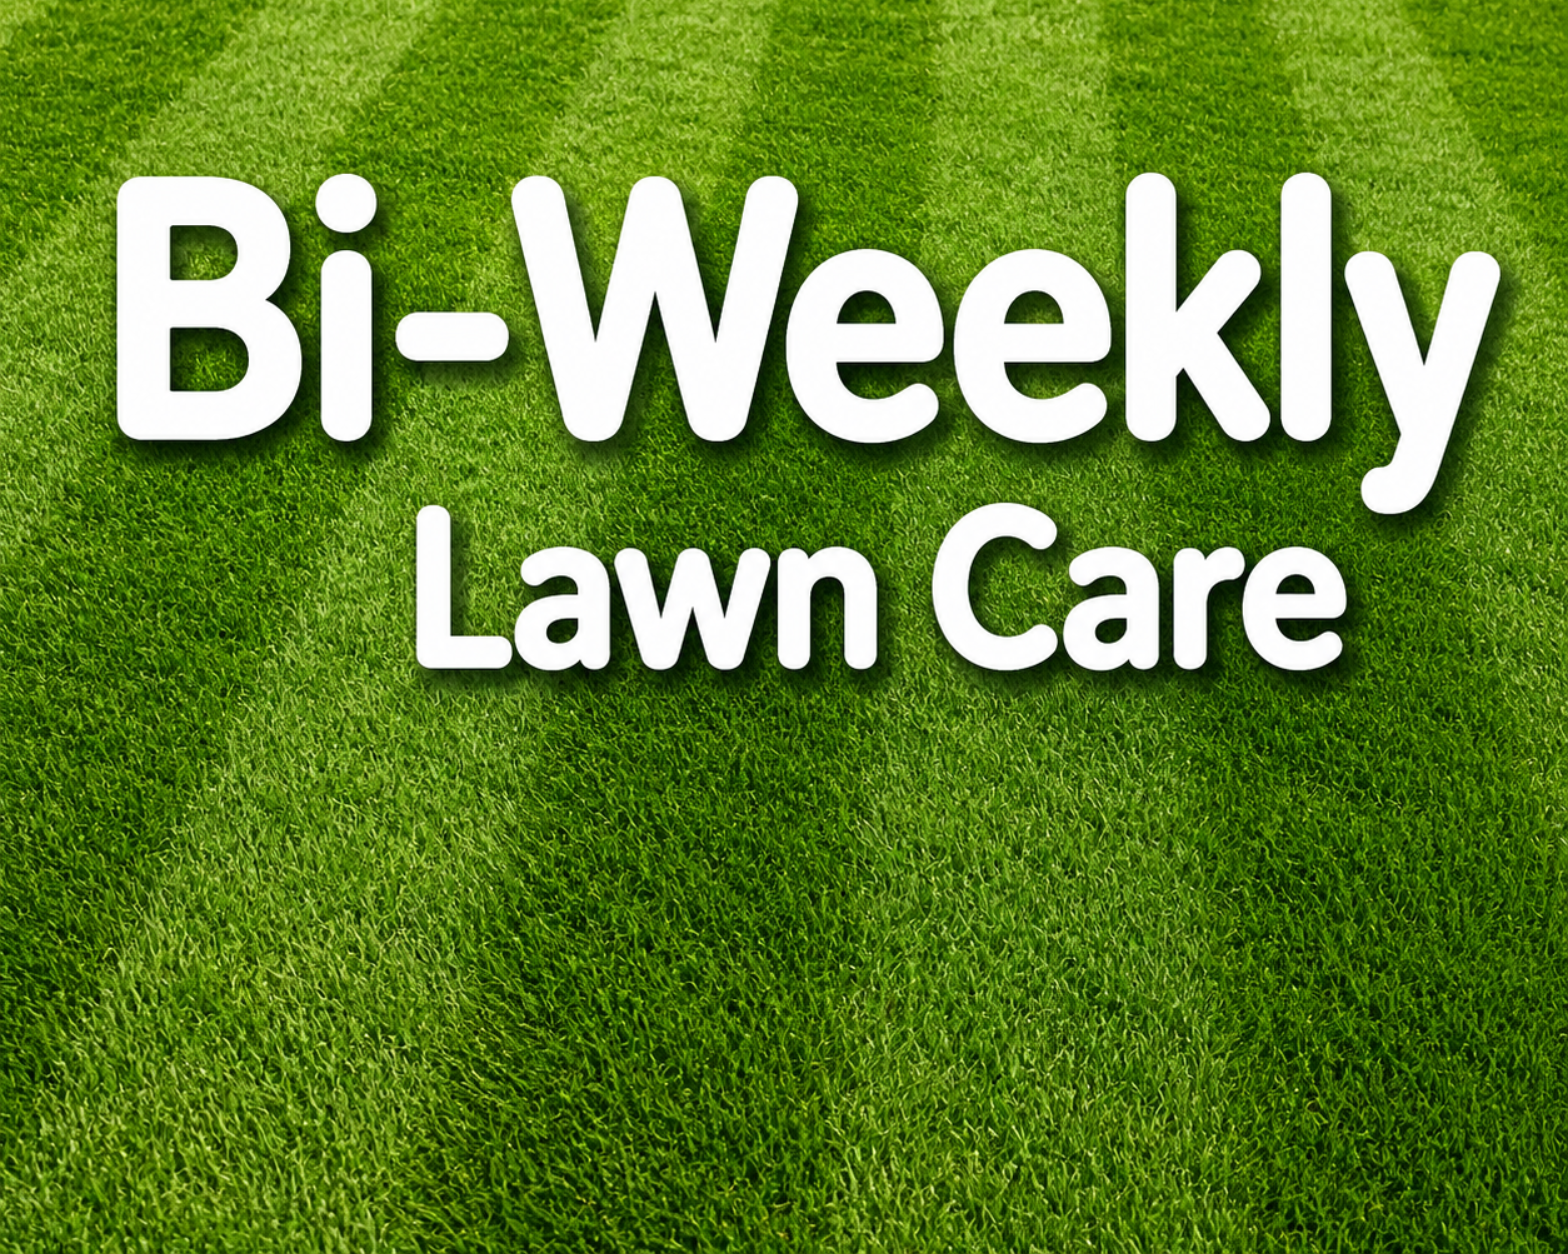
🌿 What is Bi-Weekly Lawn Maintenance?
Bi-weekly maintenance means mowing every 10–14 days.
✅ Benefits of Bi-Weekly Service:
⚠️ Downsides:
⚖️ Key Differences at a Glance
Weekly lawn maintenance means your grass is cut every 7 days, along with trimming and edging.
| FACTOR | WEEKLY | BI-WEEKLY | |
|---|---|---|---|
| 🌱 | Lawn Appearance | Always clean & sharp | Looks uneven |
| 🌿 | Grass Health | Strong & healthy | Higher stress on grass |
| 🌱 | Weed Control | Better prevention | More weeds likely |
| 🌿 | Cost | Higher upfront | Lower upfront |
| 🌱 | Long-Term Results | Best | Moderate |
💡 Expert Insight: What Most Homeowners Don’t Realize
Many homeowners choose bi-weekly service to save money—but end up spending more long-term.
Why?
👉
Consistency is cheaper than correction.
⭐ Best Recommendation
For most homeowners, weekly lawn maintenance is the best choice—especially during peak growing seasons.
It ensures:
Bi-weekly service can work
only during slower growth periods, like early spring or late fall.
🌿 Why Choose 606 Land & Snow?
At
606 Land & Snow, we don’t just cut grass—we maintain your lawn like it’s our own.
What You Get:
We understand Chicago lawns, weather patterns, and seasonal changes—so we recommend what actually works, not just what’s convenient.
Choosing between weekly and bi-weekly lawn maintenance comes down to one thing:
Do you want to maintain your lawn—or fix it later?
Weekly service keeps your lawn consistently healthy and beautiful, while bi-weekly service can lead to uneven growth and more work in the long run.
If you want a lawn that stands out in your neighborhood, weekly maintenance is the clear winner—and with the right team, it’s completely hassle-free.
Let 606 Land & Snow handle the work—so you can enjoy the results.
At
606 Land & Snow, we specialize in lawn care, landscaping, trimming, garden enhancements, and snow clearing services tailored to your property. Whether you want a simple flower bed refresh, a full landscape upgrade, or reliable snow removal during. the winter season, our team is here to help.
Get your estimate today at 606 Land & Snow
📍 Serving: Chicago & surrounding suburbs • 📞 (773) 257-3147 (773) 917-1102
✉️ info@606landsnow.com
• 🌐 606landsnow.com
Previous blog topics below >>
Mulch is any material spread over the ground in a landscape setting. It is beneficial at any time of year. Still, it is helpful in the winter when cold winds and icy rains can damage your garden. This guide shows you how to prepare your plants for cold weather by mulching them with the best materials.
Getting your garden ready for winter means minimizing damage to plants by making them more resistant to cold. Mulch does this by putting a layer of insulation over your flower beds and vegetable garden.
Winter is the best time to mulch because your garden has fewer plants and weeds. It's the end of the growing season for many flowers and vegetables, so now is the perfect time to protect and improve the soil in your garden for next spring.
The Clemson Home & Garden Information Center suggests the following things to use as organic mulch:
Now that you know all about mulch, it's time for step-by-step instructions on how to use it in your garden. The process only has a few steps. Here's how to do it.
Before you put mulch on your flower beds, you need to get rid of old trash and dead plants. After you get rid of the old plants, pull out any weeds. The best thing to do is get rid of weeds in your garden before putting down mulch. If you want to add new mulch to a natural area near your home, remove the old mulch and edge the garden to make a clear line between the grass and the garden bed.
Now is the time to put new mulch in your garden. We recommend placing the mulch in a wheelbarrow so it is easy to move to different parts of your garden. Then you can shovel the mulch out of the wheelbarrow and into small piles around the beds.
Spread the mulch out evenly across the ground with your hands. Keep adding the material until your garden beds have a 2- to 3-inch layer of mulch.
Your garden is now ready for the winter. The mulch gives your landscape what it needs to survive the winter and grow well in the spring.
Remember to do the same thing with your garden when you get rid of your winter clothes in the spring. Take away some of the mulch. Add it to your compost pile to keep the cycle going of making healthy organic fertilizer for your plants.
Rain gutters protect your home's landscaping. They also keep the foundation of your home from getting damaged. But when leaves, sticks, and other things get stuck in gutters, it can cause clogs that let water seep under the roof and into the foundation.
Ice dams are one of the most common dangers of heavy snowstorms. When water builds up behind the ice dam and seeps under the roofing materials, it can cause leaks and other costly damage.
That's why cleaning your gutters and keeping them clean all year is essential.

Here at 606 Land and Snow, we offer professional gutter cleaning and mulching services in Cook County, Chicago, IL 60647, 60657, 60618, 60642, 60622 and 60614
Fill out our online form or call us at (773) 257-3147.
We hope this guide helps you understand the importance of mulching, gutter cleaning, and the simple steps that offer your garden some winter protection.

606 Property Services (formerly 606 Land & Snow) provides reliable property services for homeowners across Chicago and the surrounding suburbs.

Phone
(773) 257-3147

info@606landsnow.com

Service Area
Chicago & Surrounding Areas

Business Hours
Mon-Sunday: 24/7